1. Raw Material Preparation:
Selecting appropriate raw materials is critical to ensuring the quality of optical components. In contemporary optical manufacturing, optical glass or optical plastic is typically chosen as the primary material. Optical glass is renowned for its superior light transmission and stability, providing exceptional optical performance for high-precision and high-performance applications such as microscopes, telescopes, and premium camera lenses.
All raw materials undergo stringent quality inspections before entering the production process. This includes evaluating key parameters such as transparency, homogeneity, and refractive index to ensure compliance with design specifications. Any minor defect can lead to distorted or blurred images, which can compromise the final product's performance. Therefore, rigorous quality control is essential to maintain a high standard across each batch of materials.
2. Cutting and Molding:
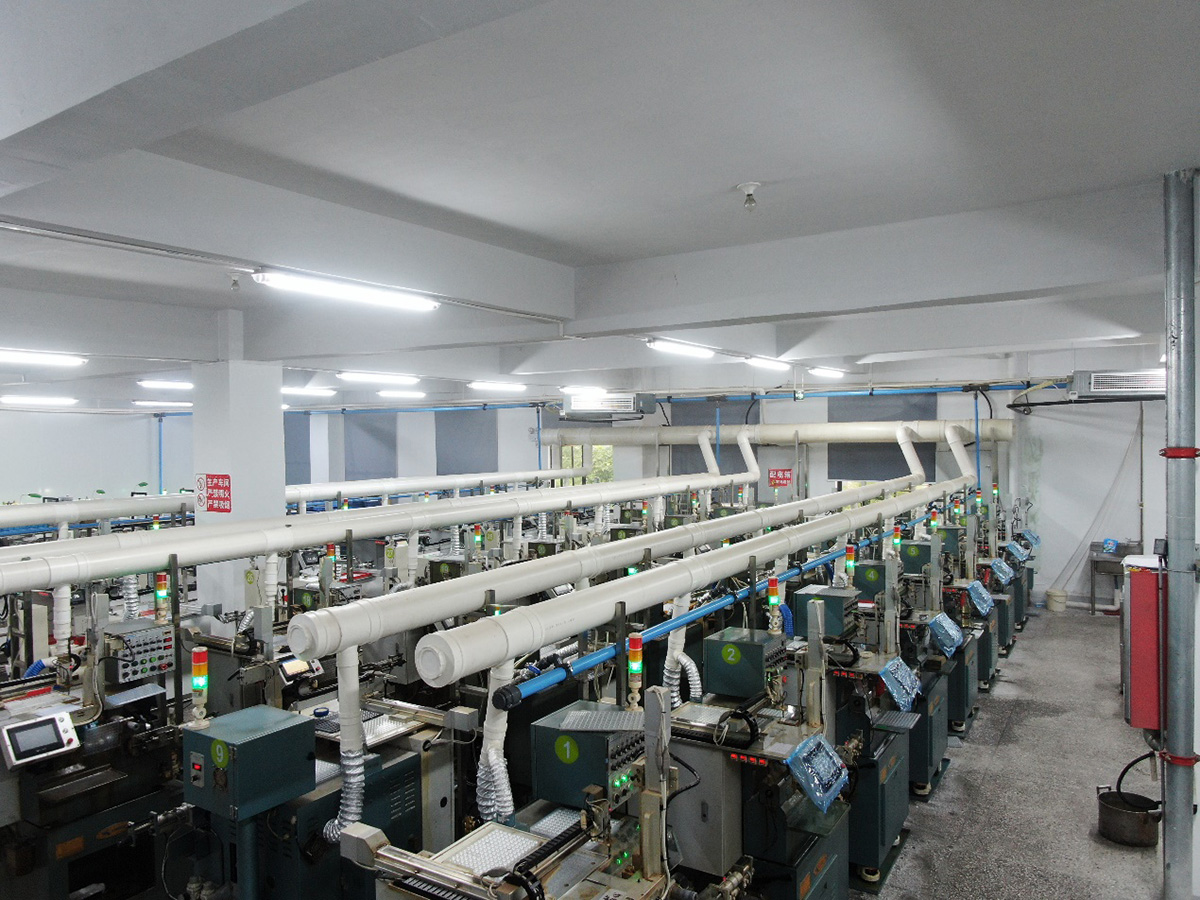
Based on design specifications, professional cutting equipment is utilized to precisely shape the raw material. This process demands extremely high precision, as even slight deviations can significantly impact subsequent processing. For instance, in the manufacture of precision optical lenses, minute errors can render the entire lens non-functional. To achieve this level of precision, modern optical manufacturing often employs advanced CNC cutting equipment equipped with high-precision sensors and control systems capable of micron-level accuracy.

Additionally, the physical properties of the material must be considered during cutting. For optical glass, its high hardness necessitates special precautions to prevent cracking and debris formation; for optical plastics, care must be taken to avoid deformation due to overheating. Thus, the selection of cutting processes and parameter settings must be optimized according to the specific material to ensure optimal results.
3. Fine Grinding and Polishing:
Fine grinding is a crucial step in the manufacture of optical components. It involves using a mixture of abrasive particles and water to grind the mirror disk, aiming to achieve two main objectives: (1) to closely match the designed radius; (2) to eliminate subsurface damage. By precisely controlling the particle size and concentration of the abrasive, subsurface damage can be effectively minimized, thereby enhancing the optical performance of the lens. Additionally, it is important to ensure an appropriate center thickness to provide sufficient margin for subsequent polishing.
Following fine grinding, the lens is polished to achieve a specified radius of curvature, spherical irregularity, and surface finish using a polishing disc. During polishing, the lens radius is repeatedly measured and controlled using templates to ensure adherence to design requirements. Spherical irregularity refers to the maximum allowable disturbance of the spherical wavefront, which can be measured by template contact measurement or interferometry. Interferometer detection offers higher accuracy and objectivity compared to sample measurement, which relies on the tester's experience and may introduce estimation errors. Furthermore, lens surface defects such as scratches, pitting, and notches must meet specified standards to ensure the quality and performance of the final product.
4. Centering (Control of Eccentricity or Equal Thickness Difference):
After polishing both sides of the lens, the lens edge is finely ground on a specialized lathe to accomplish two tasks: (1) grinding the lens to its final diameter; (2) ensuring that the optical axis aligns with the mechanical axis. This process requires high-precision grinding techniques, precise measurements, and adjustments. The alignment between the optical and mechanical axes directly affects the lens's optical performance, and any deviation can result in imaging distortion or reduced resolution. Therefore, high-precision measuring instruments, such as laser interferometers and automatic alignment systems, are typically employed to ensure perfect alignment between the optical and mechanical axes.
Simultaneously, grinding a plane or special fixed chamfer on the lens is also part of the centering process. These chamfers enhance installation accuracy, improve mechanical strength, and prevent damage during use. Thus, centering is vital for ensuring both the optical performance and long-term stable operation of the lens.
5. Coating Treatment:
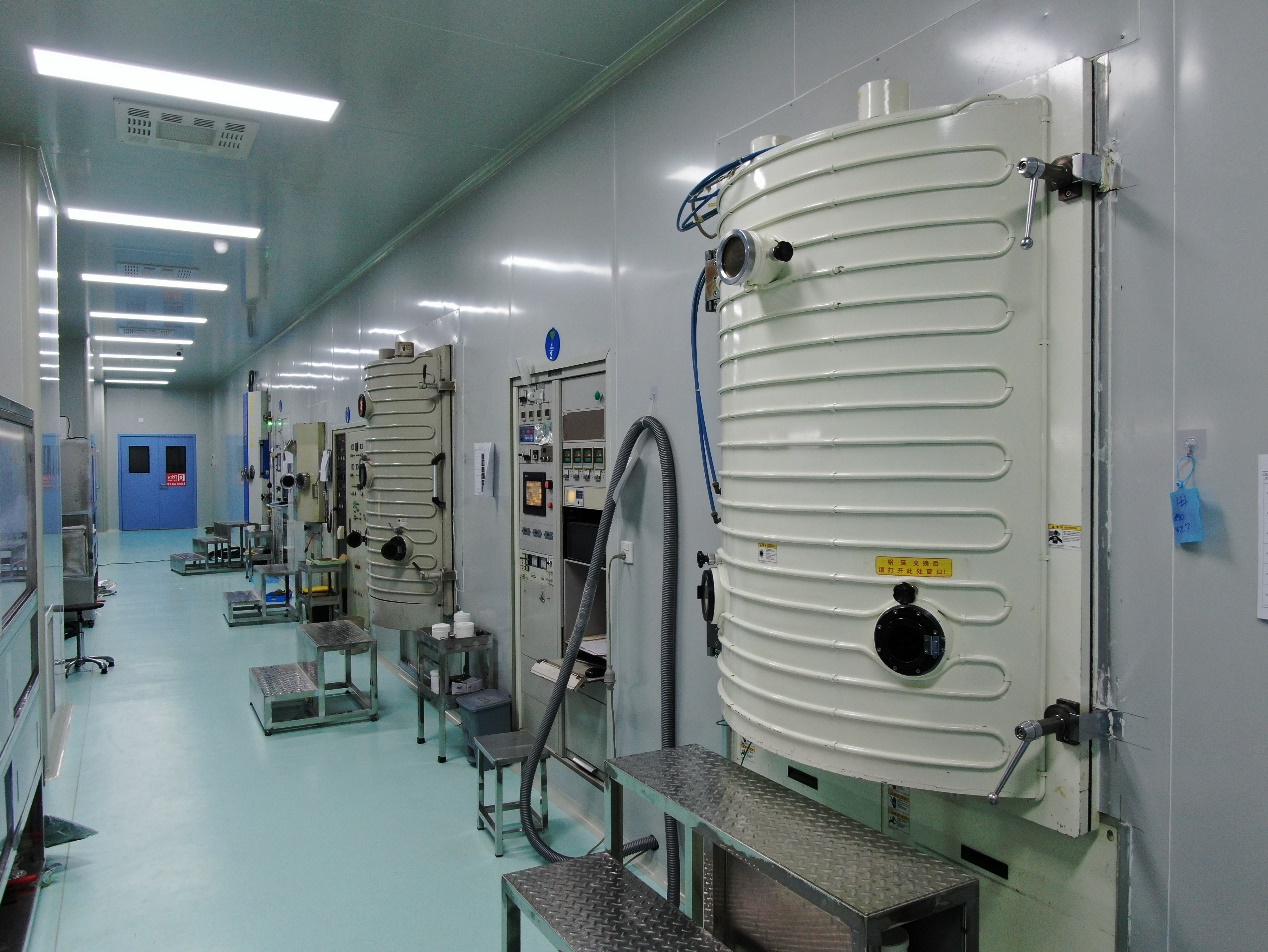
The polished lens undergoes coating to increase light transmission and reduce reflection, thereby improving image quality. Coating is a critical step in optical component manufacturing, altering light propagation characteristics by depositing one or more thin films on the lens surface. Common coating materials include magnesium oxide and magnesium fluoride, known for their excellent optical properties and chemical stability.

The coating process requires precise control of material proportions and film thickness to ensure optimal performance of each layer. For example, in multilayer coatings, the thickness and material combination of different layers can significantly enhance transmittance and reduce reflection loss. Additionally, coatings can impart special optical functions, such as UV resistance and anti-fogging, expanding the lens's application range and performance. Therefore, coating treatment is not only essential for improving optical performance but also crucial for meeting diverse application needs.
Post time: Dec-23-2024


